Add Timestamp (Date) in the File Name by Power Automate
Why Add Timestamps to File Names Using Power Automate?
The Need for Organized File Naming
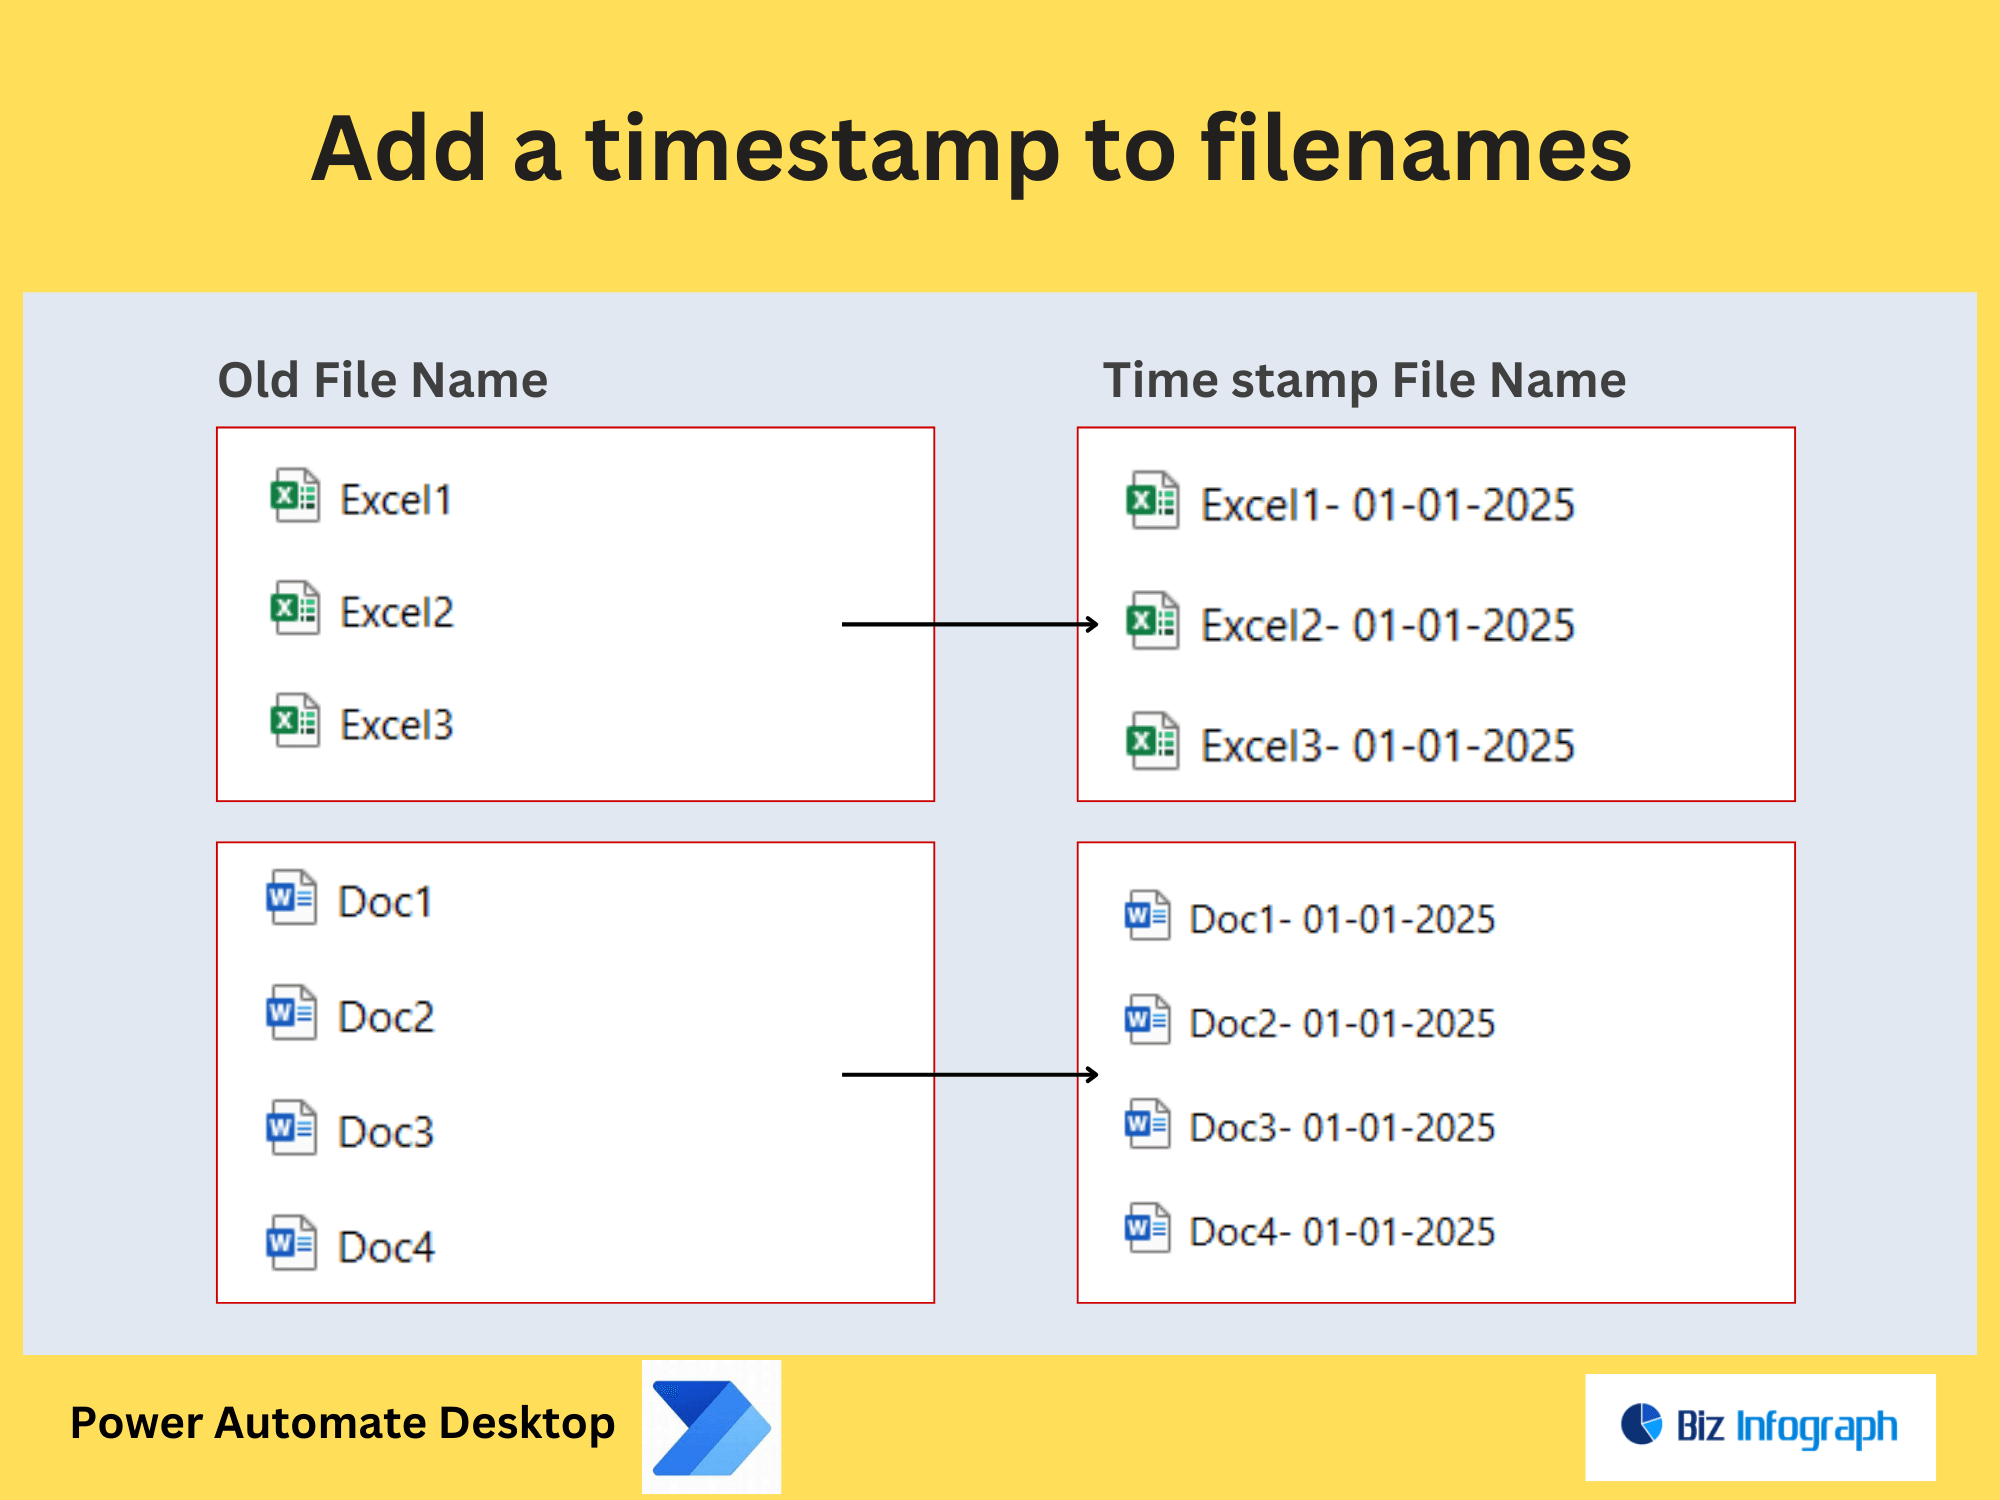
In today’s digital environment, maintaining an organized folder structure is crucial, especially when dealing with files that are frequently updated or shared. Adding a timestamp or current date to the name of the file ensures that each file is uniquely identifiable, reducing the risk of overwriting or confusion. For example, a file named “Report_2024-10-15.pdf” clearly indicates when it was created or modified. This practice is particularly useful in SharePoint or document library scenarios where multiple users upload files. By using Power Automate, you can automate this process, ensuring that files are named consistently and efficiently without manual intervention.
Benefits of Automating Timestamp Addition
Automating the process of adding a date to file name using Power Automate offers numerous benefits. First, it eliminates the need for manual updates, saving time and reducing errors. By leveraging Power Automate expressions, such as “utcNow”, you can dynamically insert the current date into file names. This ensures that files are named consistently, following a custom naming convention like year-month-day. Additionally, automating this process is a good practice for maintaining version control and improving workflow efficiency. Whether you’re working with attachments, SharePoint files, or Office 365 documents, adding timestamps enhances file organization and accessibility.
How to Add Timestamps to File Names with Power Automate
Setting Up Power Automate for Timestamp Addition
To begin adding a timestamp to file names, set up a Power Automate flow. Start by selecting a trigger, such as when a file is added to a folder in SharePoint or received as an attachment in an email. Use the “Get File” action to retrieve the file you want to rename. Next, initialize a variable to store the current date using the “utcNow” expression. This ensures that the date is dynamically generated and formatted correctly. By setting up the flow correctly, you can ensure that the date at the beginning or end of the file name is added automatically, improving file organization.
Using Expressions to Format the Current Date
Once the current date is retrieved, use Power Automate expressions to format it according to your needs. For example, you can use the “formatDateTime” function to create a custom format like year-month-day (e.g., 2024-10-15). This formatted date can then be appended to the name of the file using a string manipulation action. By leveraging expressions, you can ensure that the date is added consistently and accurately. This step is crucial for maintaining a standardized naming convention across all files, making it easier to sort and locate them in the future.
Step-by-Step Guide to Add Timestamps to File Names
Extracting the Current Date and Formatting It
The first step in adding a timestamp to file names is to extract and format the current date. Use the “utcNow” expression in Power Automate to retrieve the current date and time. Then, apply the “formatDateTime” function to format the date as needed, such as year-month-day. Store this formatted date in a variable for later use. This ensures that the date is dynamically generated and ready to be appended to the name of the file. By accurately formatting the date, you can ensure that the file names are consistent and easy to understand.
Updating File Names with the Timestamp
Once the date is formatted, use the “Compose” action to combine the original file name with the timestamp. For example, if the original file name is “Report.pdf” and the formatted date is “2024-10-15,” the new file name could be “Report_2024-10-15.pdf.” Use the “Create File” or “Rename File” action to save the updated file name in the desired folder or document library. This step ensures that the date at the beginning or end of the file name is add date accurately, improving file organization and version control.
Testing and Verifying the File Renaming Process
After configuring the flow, test it to ensure it functions as intended. Run the flow with a sample file to verify that the timestamp is added correctly to the name of the file. Check the folder or document library to confirm that the file has been renamed as expected. Power Automate provides a transcript of the flow, allowing you to track the progress and identify any issues. If the flow fails, review the description and adjust the configuration as needed. By testing and verifying the process, you can ensure that the timestamp addition works seamlessly and meets your file management needs.
Advanced Tips and Next Steps
Customizing Date Formats for Specific Scenarios
Depending on your scenario, you may need to customize the date format used in file names. For example, some organizations prefer year-month-day, while others may use day-month-year. Use Power Automate expressions to create a dynamic date format that suits your needs. Additionally, consider adding other details, such as the time or a custom prefix, to further enhance file naming. By customizing the date format, you can ensure that the file names meet your organization’s specific requirements and improve overall workflow efficiency.
Integrating Timestamp Addition into Larger Workflows
Adding a timestamp to file names can be integrated into larger workflows for enhanced functionality. For example, you can combine this process with file approval workflows in PowerApps or automate file uploads to SharePoint. By integrating timestamp addition into broader workflows, you can create a more comprehensive solution for file management. Additionally, consider using dynamic content to further enhance the automation process. This approach is ideal for businesses looking to streamline their workflow and improve productivity.
Next Steps and Additional Resources
After mastering the basics of adding timestamps to file names, explore additional resources to further enhance your skills. Platforms like the Enterprise DNA Forum or YouTube offer tutorials and templates for advanced workflows. You can also experiment with other Power Automate expressions to handle more complex scenarios. By taking these next steps, you can continue to improve your automation skills and make the most of Power Automate for all your file management needs. Power Automate app adds timestamps (datetime) to filenames, enhancing organization for items in Microsoft SharePoint or document libraries effortlessly.
For ready-to-use Dashboard Templates:
- Financial Dashboards
- Sales Dashboards
- HR Dashboards
- Data Visualization Charts
- Power BI - Biz Infograph