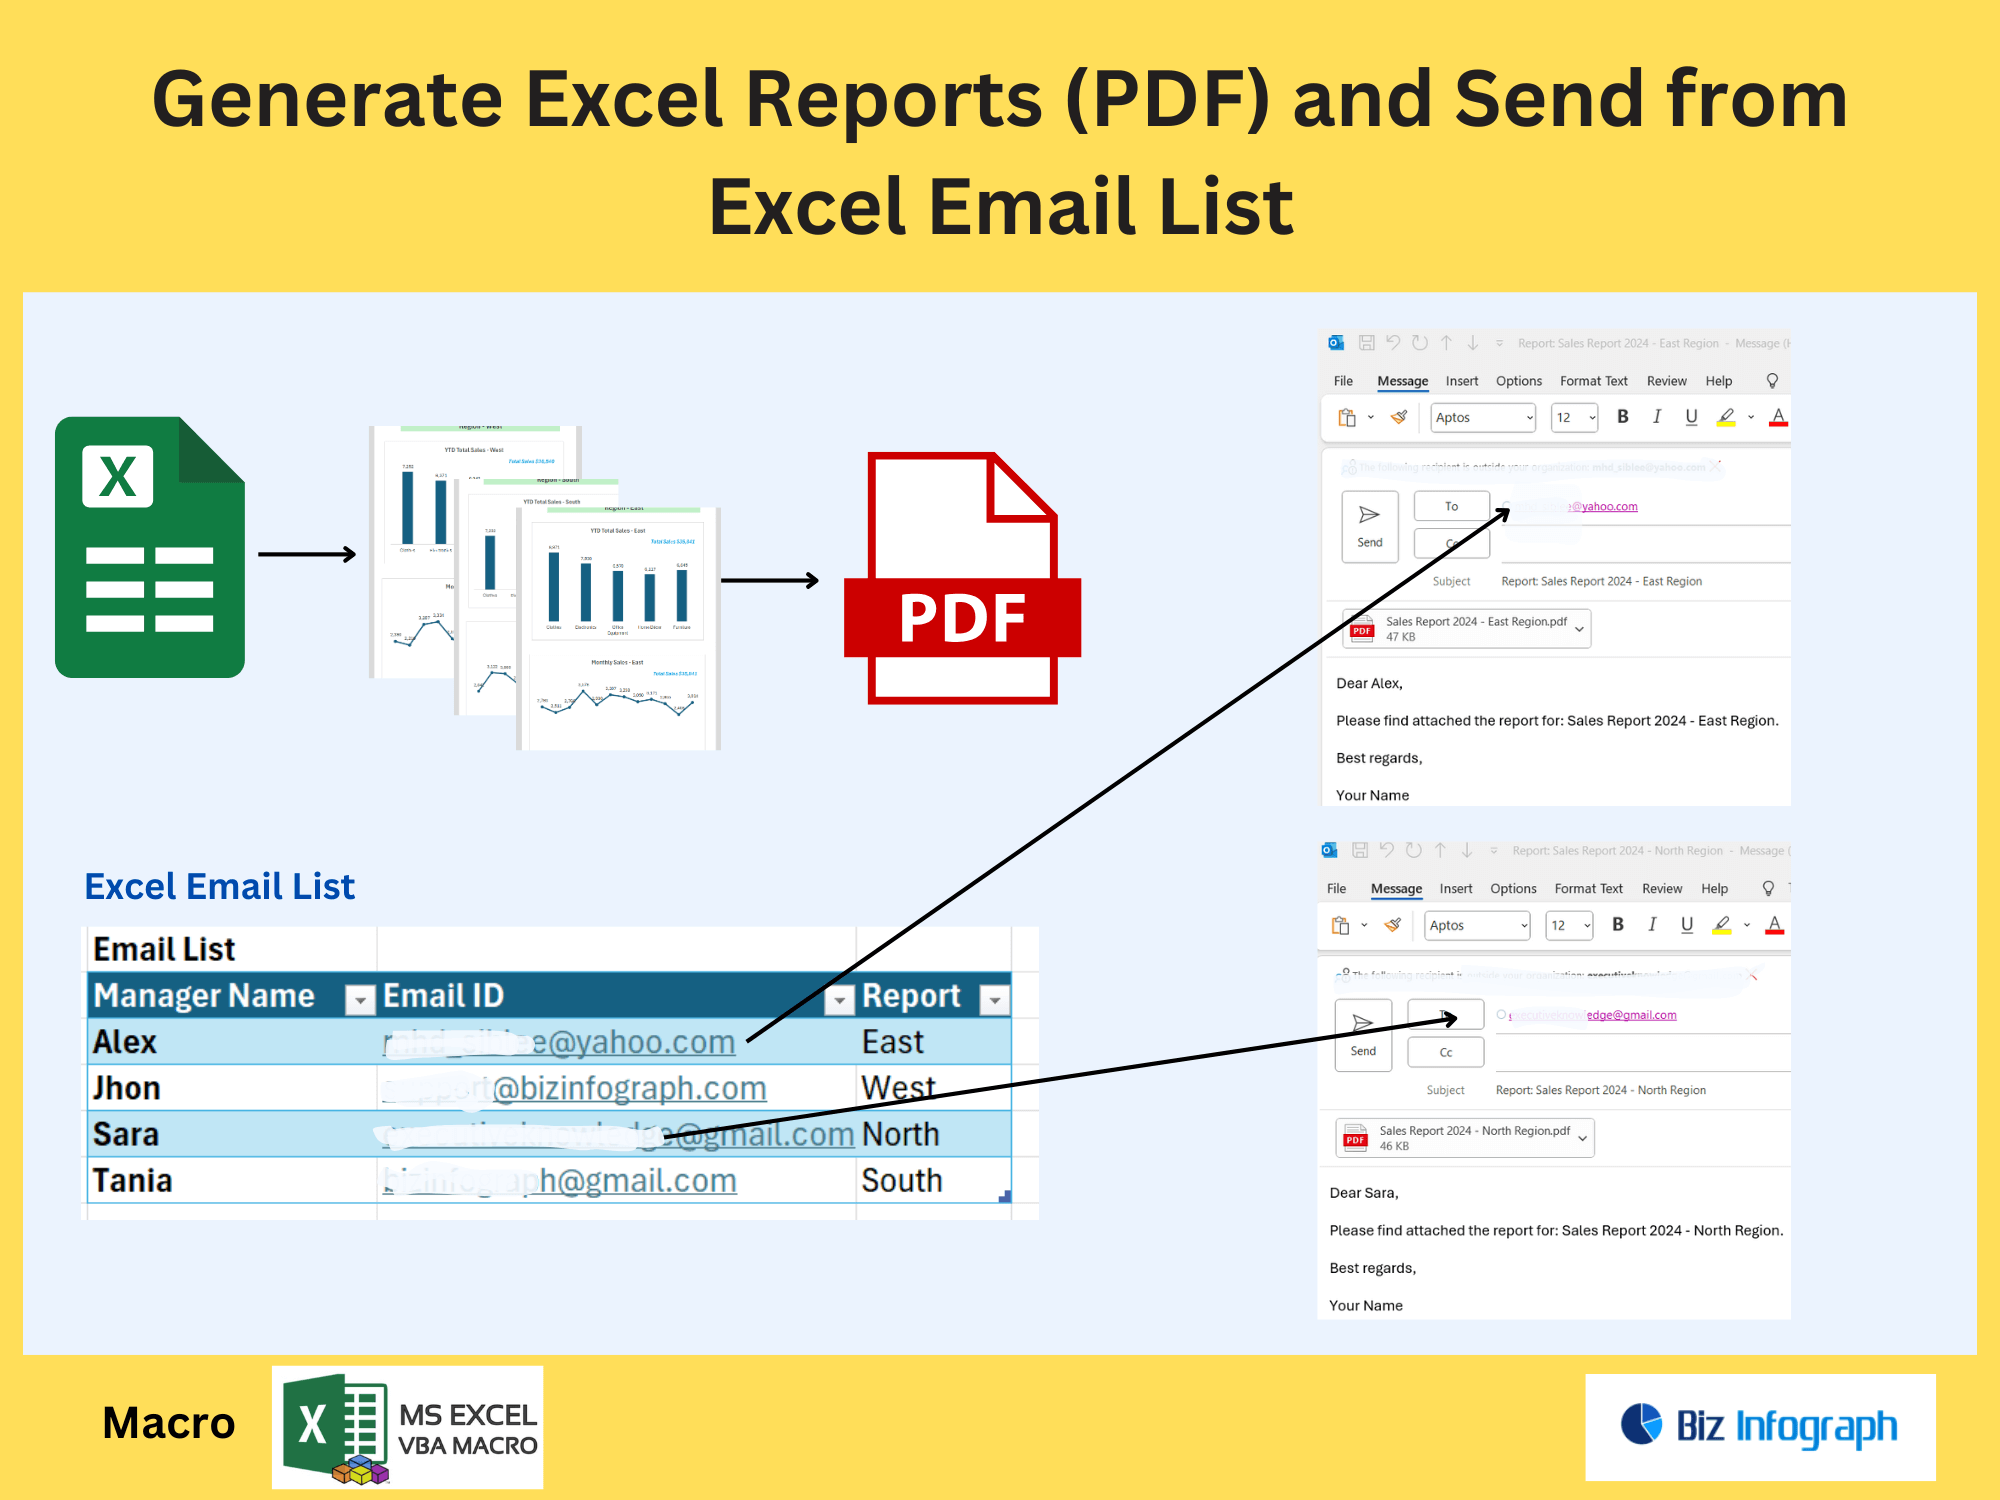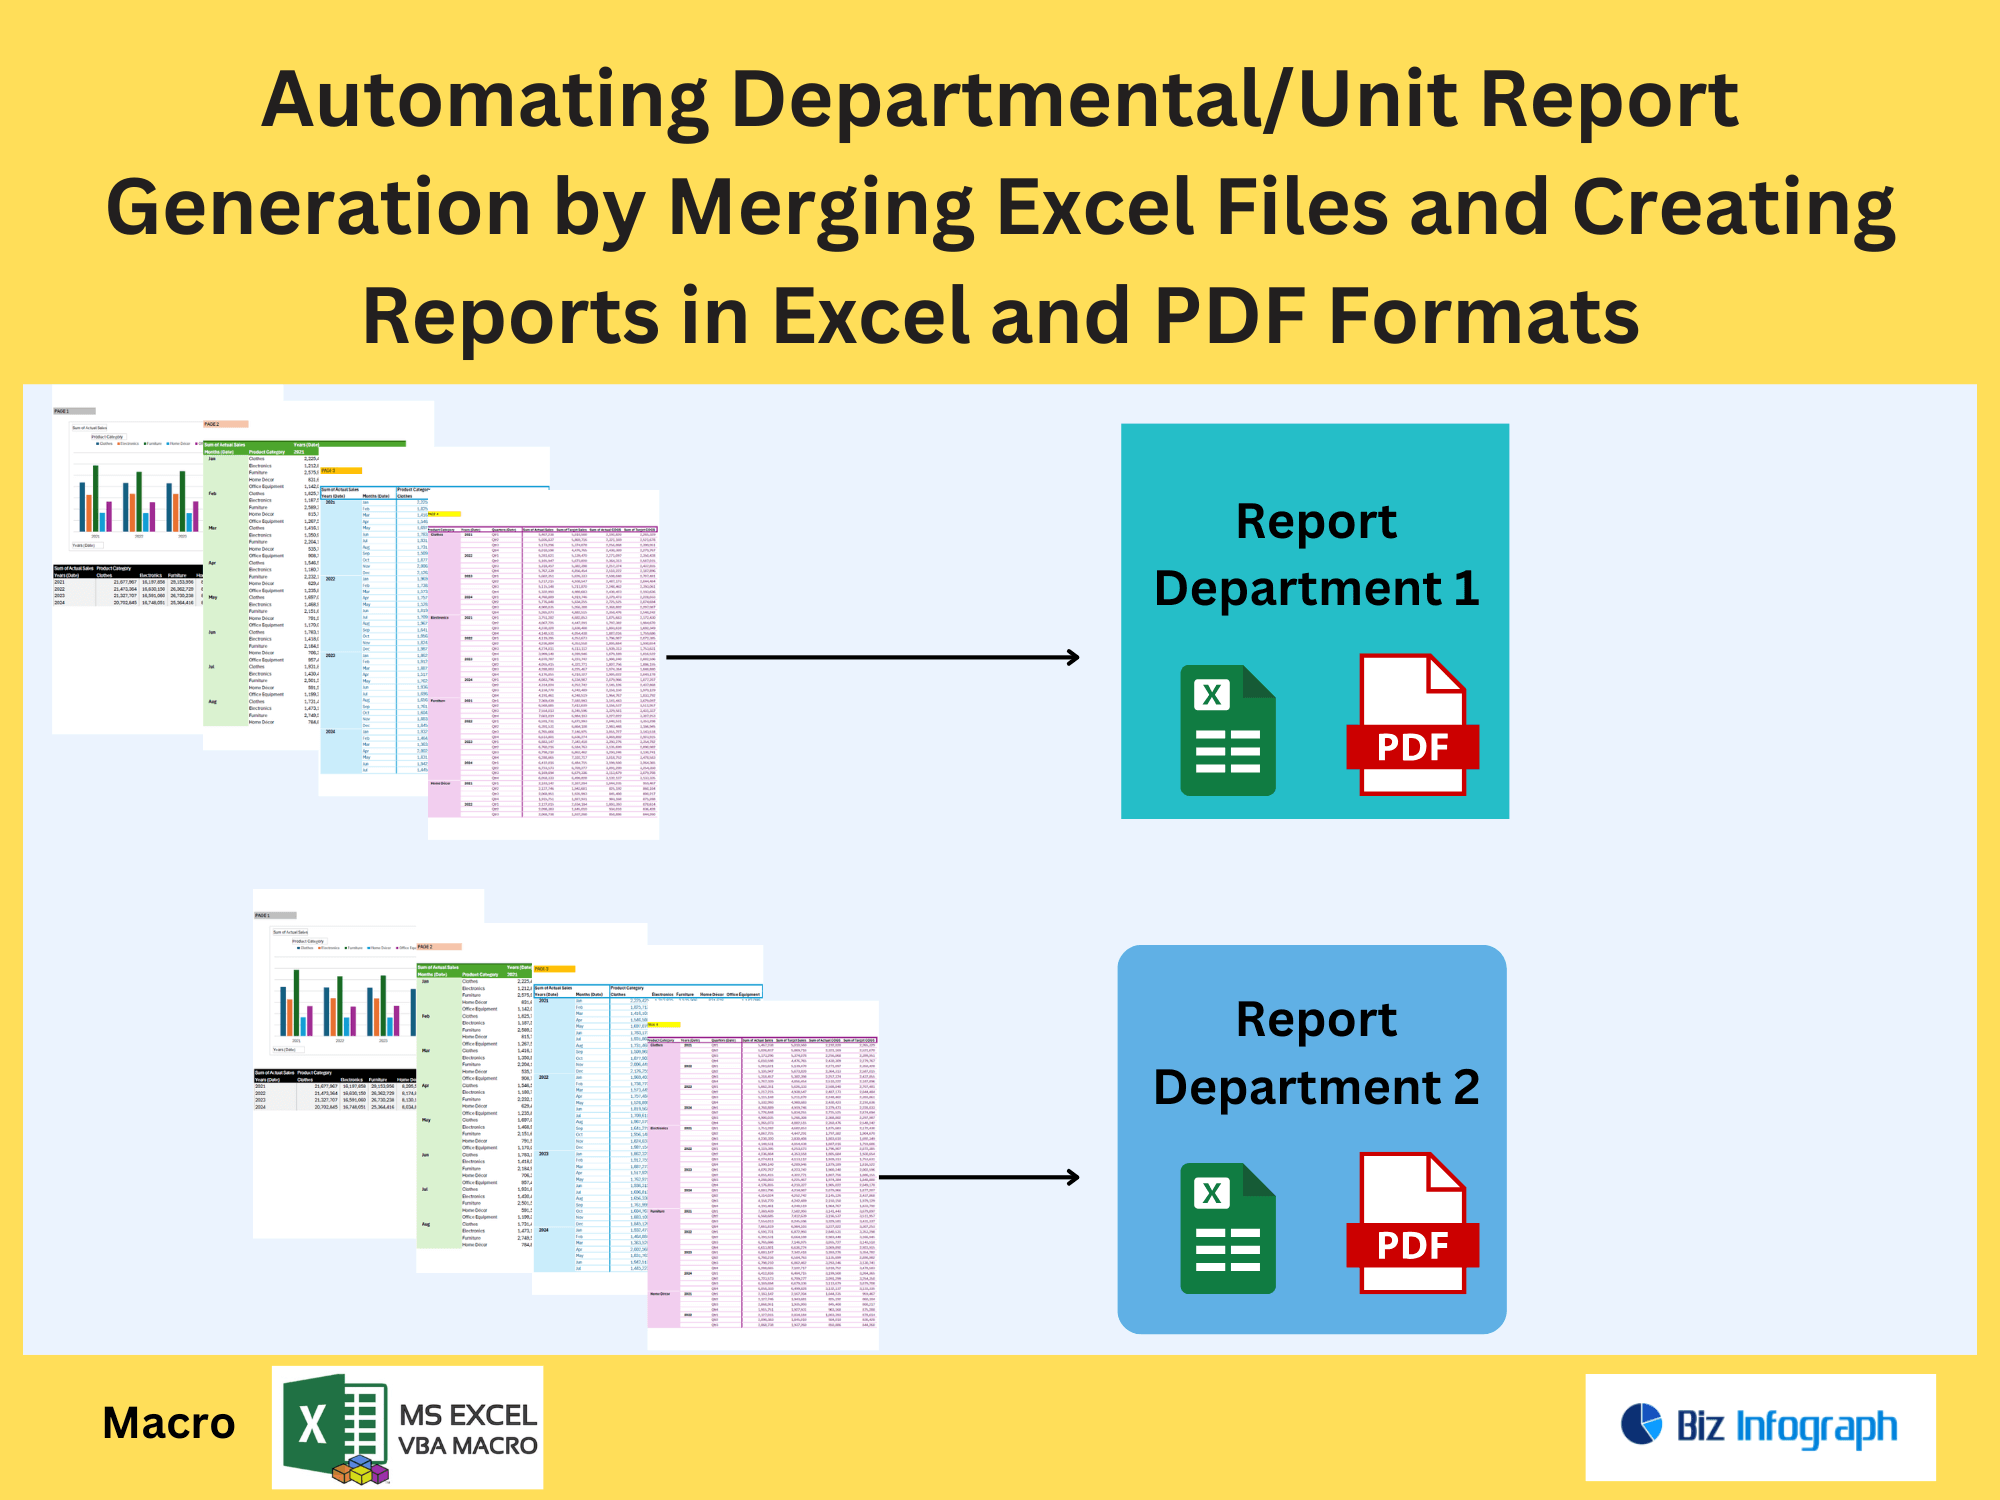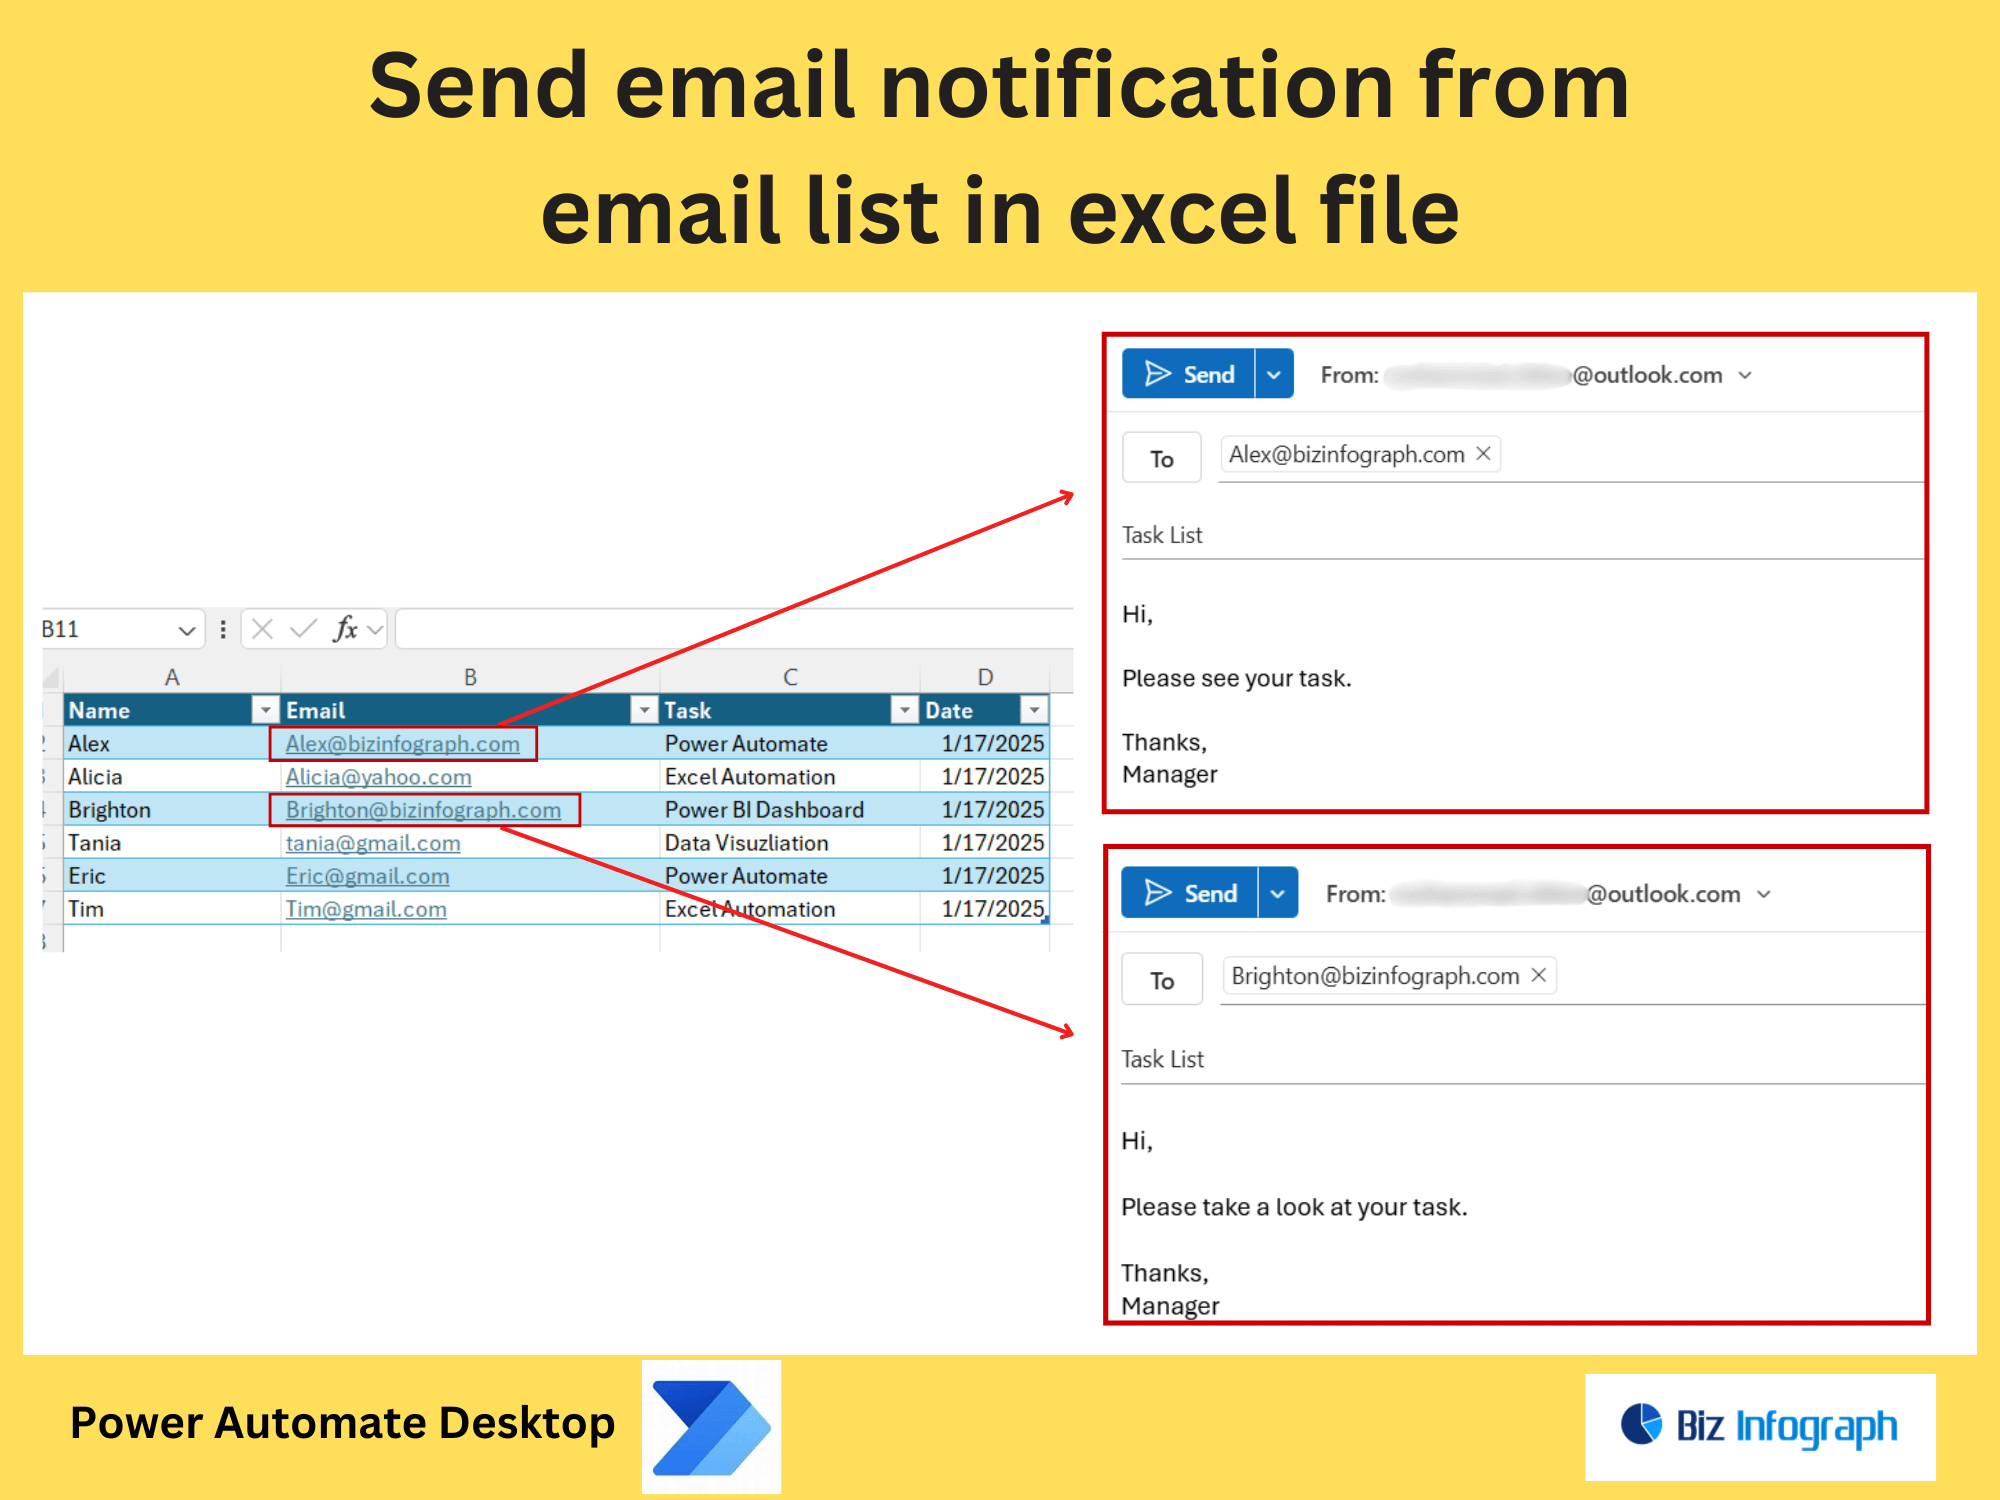
Send Multiple Emails from Email List in Excel File by Power Automate
Why Automate Email Sending from Excel?
The Need for Bulk Email Automation
Manually sending emails to multiple recipients from an Excel spreadsheet is time-consuming and error-prone, especially when handling repetitive tasks like monthly newsletters or invoice reminders. For example, a marketing team managing 500+ email addresses risks typos, missed recipients, or inconsistent dynamic content (e.g., personalized names or order details). Without automation, scaling campaigns or maintaining email communication efficiency becomes nearly impossible, leading to wasted time and frustrated teams.
Benefits of Using Power Automate
Power Automate streamlines email automation by harnessing the power of Excel data to send bulk email with precision. It eliminates manual errors by auto-populating email templates with dynamic content (e.g., %ClientName%, %InvoiceNumber%), ensuring consistency. For instance, a sales team can automatically send 1,000 personalized follow-ups from an Excel table in minutes, while Power Automate’s conditional logic skips invalid email addresses or duplicates. Integration with Outlook or Gmail and OneDrive/SharePoint simplifies workflows, saving hours and boosting productivity.
How to Send Emails from Excel Using Power Automate
Setting Up Your Excel File for Automation
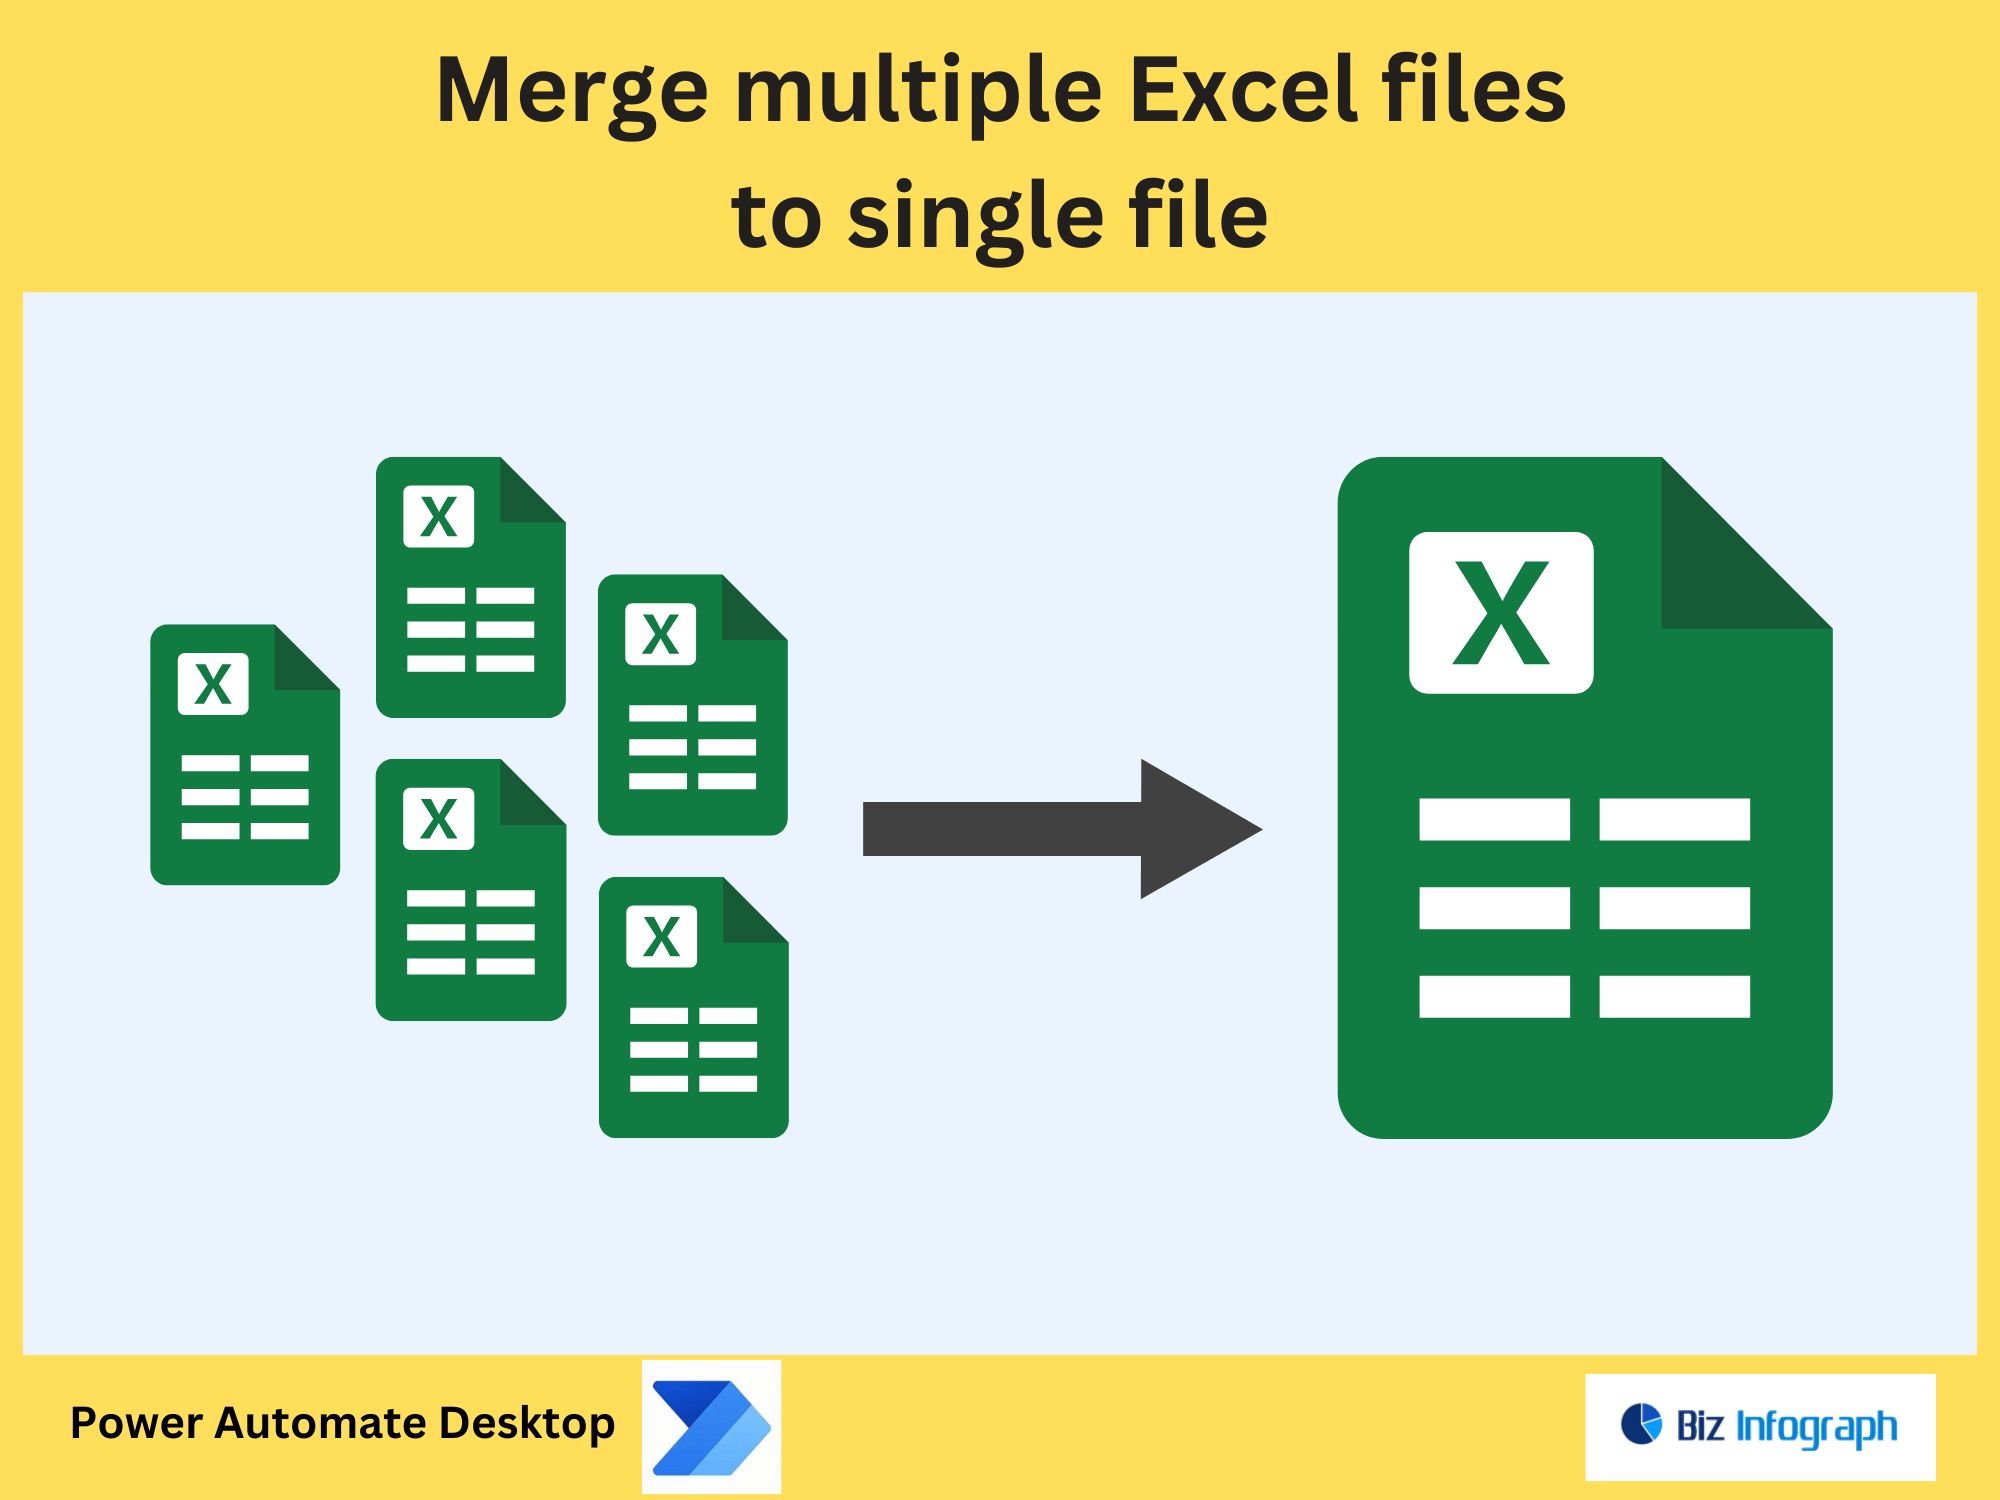
To send emails from Excel using Power Automate, start by structuring your Excel spreadsheet with a table containing email addresses, names, and dynamic content (e.g., order IDs, dates). For example, create columns like Email, FirstName, and OrderNumber to personalize email messages. Ensure the Excel worksheet is stored in OneDrive for Business or SharePoint for seamless access. Use Power Automate to harness the power of this data, avoiding duplicate emails by adding validation rules (e.g., flagging repeated addresses).
Creating a Flow in Power Automate
-
Create a flow in Power Automate with a trigger like “When a row is added” or a scheduled time.
-
Connect to your Excel workbook and automate workflows to send emails directly from Excel using Outlook or Gmail as the email service provider.
-
Use dynamic content from the Excel table (e.g.,
%FirstName%,%OrderNumber%) to populate the email body and subject line. -
Apply actions based on specific conditions, such as skipping rows with missing emails or sending follow-ups.
Personalizing Emails with Dynamic Content
Design an email template with placeholders that pull data from your Excel sheet. For example:
-
Subject:
Hi %FirstName%, Your Order #%OrderNumber% is Shipped! -
Body:
Dear %FirstName%, Your order will arrive by %DeliveryDate%.
Use Power Automate to automatically send these personalized emails to multiple recipients, ensuring each message feels custom.
Step-by-Step Guide to Automate Email Sending
-
Set up Power Automate: Link your Excel spreadsheet to a flow in Power Automate.
-
Loop through rows: Use Power Automate to iterate over the Excel table and extract email addresses and dynamic fields.
-
Send an email: Configure the email message with dynamic content and trigger the email sending process.
-
Test: Use a sample email to verify formatting and data accuracy before scaling.
Advanced Tips for Email Automation
-
Avoid duplicates: Use Power Automate to check for duplicate emails in the Excel sheet before sending.
-
Integrate Power Apps: Build a Power Apps interface to let users trigger email campaigns directly from Excel data.
-
Streamline workflows: Use Power BI to analyze email performance metrics (e.g., open rates) and update the Excel spreadsheet automatically.
For ready-to-use Dashboard Templates: